Beginner guide to the PineTime DevKit
Getting started with the PineTime DevKit

This is an introduction how to start embedded development with the PineTime DevKit for beginner.
Intro
To get started with the Pinetime you need next to the Pinetime first and foremost
- a computer to develop (Linux, MacOS, Windows)
- a device to connect your computer to the Pinetime,
- software to connect
- some firmware to flash to the PineTime
- sticky tape to connect the back to the watch (no, this is not water tight)
- adventuritis
This is a development Kit and not a functioning watch. One consequence is that the back of the watch can only be loosely put to the watch and then fixed with some tape or so. If you want to glue the back of the watch to the kit you need some way to access the internal SWD ports e.g. drill a hole into the back. So please mind that whatever you do this is not a normal digital watch.
It is important to note that the original PineTime software is read-write protected, to prevent people from nicking the original software. So before you can write any new firmware to the PineTime you have to remove the write protection. Note: This will remove the original PineTime software and can not be reversed. But the idea after all is to develop super cool new software for the PineTime anyway.
Connecting to the PineTime
The PineTime comes with a cable that fits the small SWD (serial wire debug) connectors on the board.
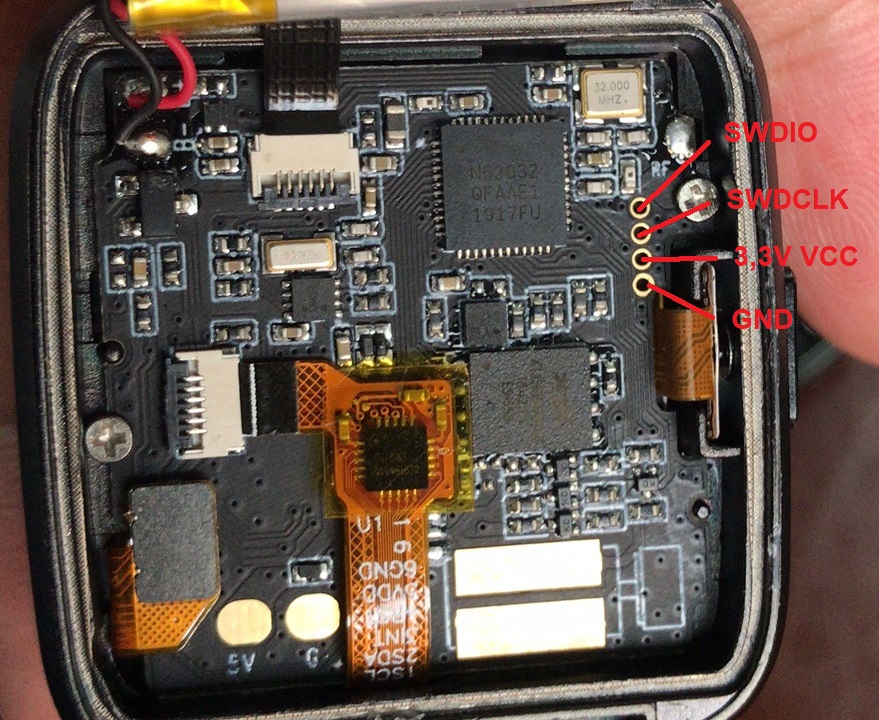
There are several different ways to connect to the PineTime.
Blackmagic-bluepill
There is a device called Blackmagic Probe (BMP) that does include additional functionality so that you can connect to it directly using the debugger gdb, without the need of using openocd or something else to connect to the device.
You can buy the device here.
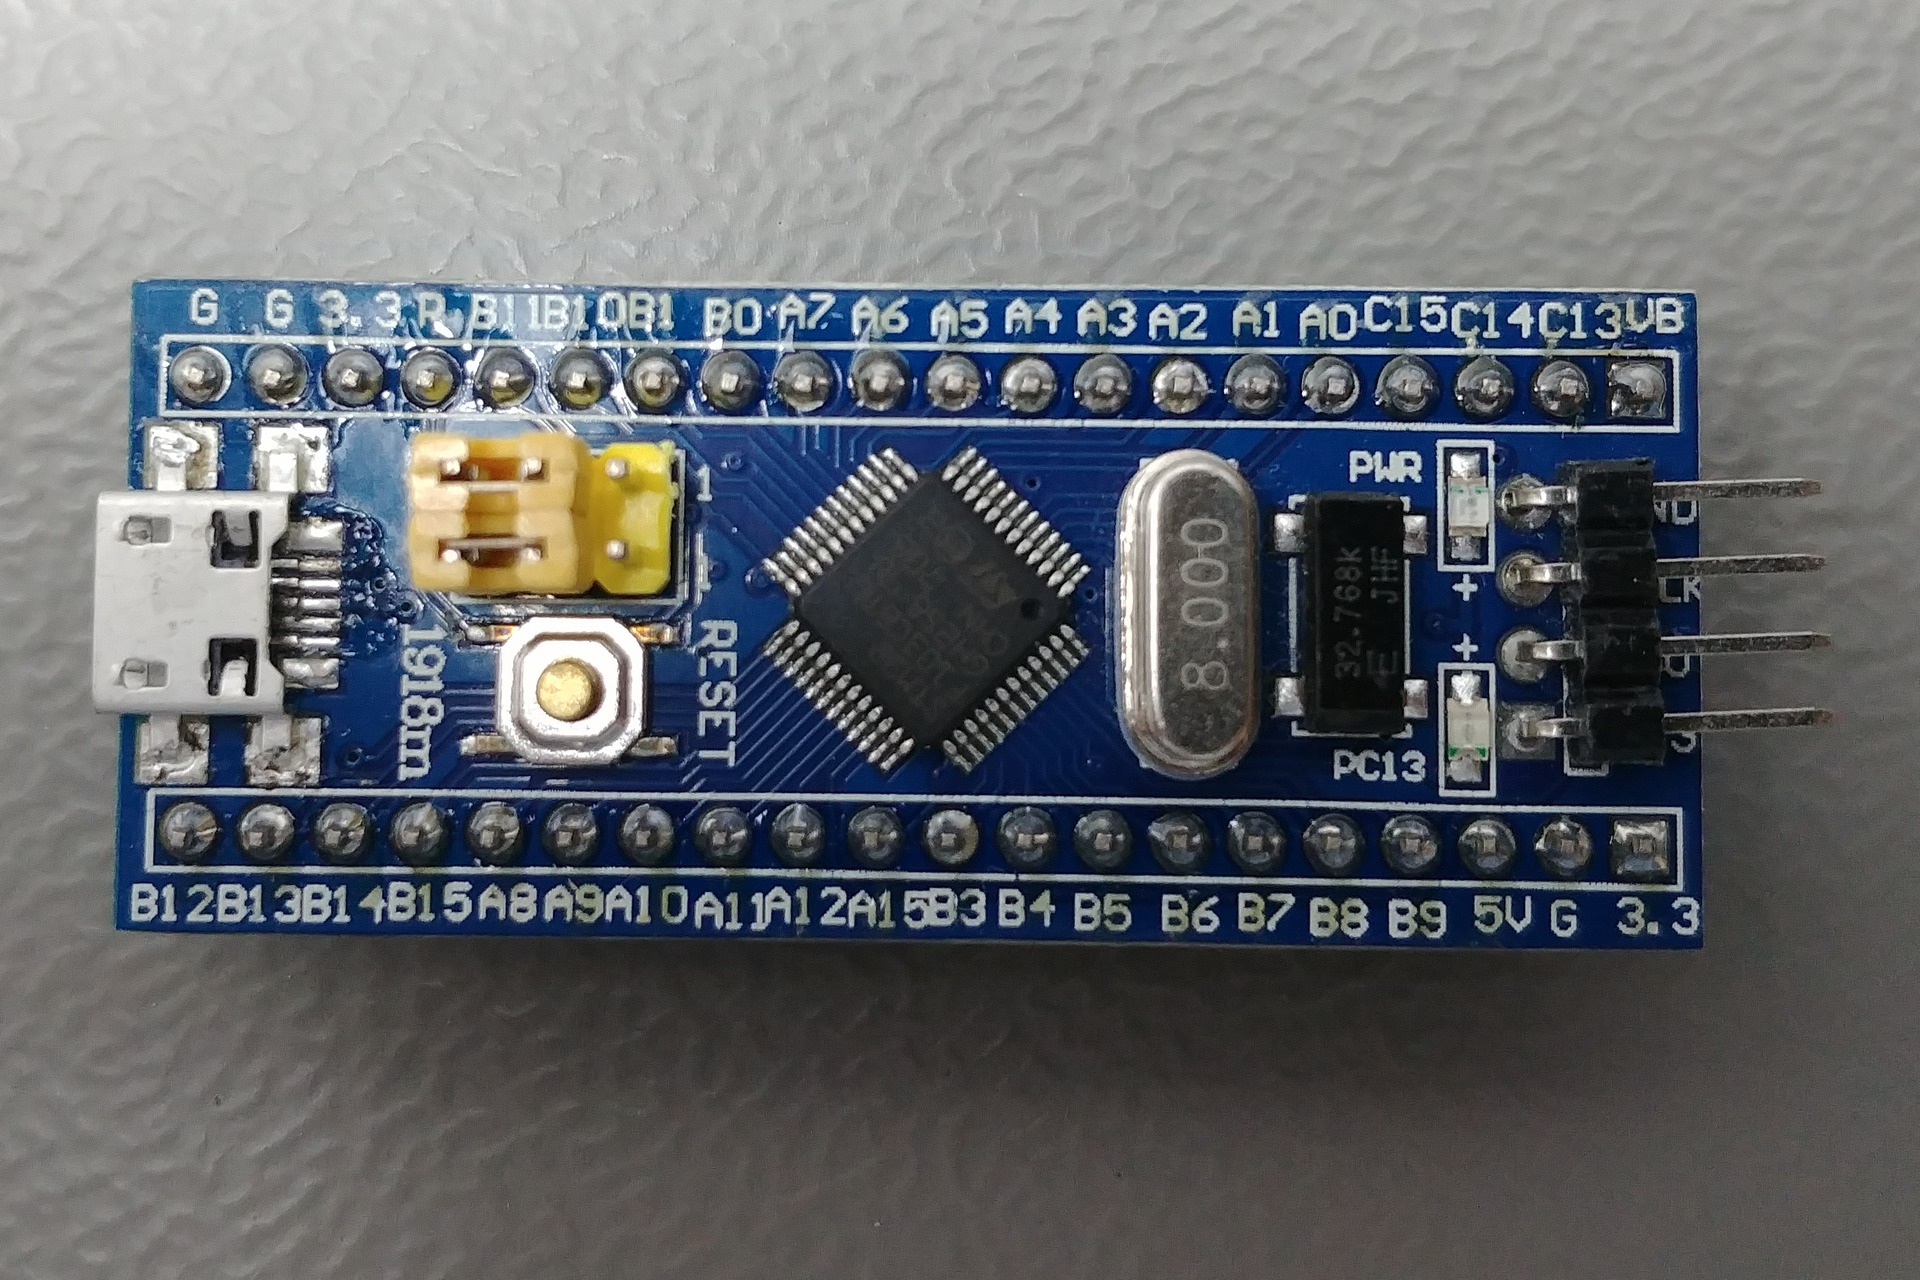
The firmware is generously open source so it is possible to install blackmagic to other devices. One device is the STM32 Bluepill and very popular as it is often very cheap and also comes with 4 pins on the board which allow to connect to the SWD PineTime interface without soldering.
To set up the Blackmagic-bluepill see this Pine64 forum entry and this description.
To connect with the blackmagic-bluepill you can use the software gdb.
Raspbery Pi
Thanks to some excellent research from Lupyuen it is possible and in fact quite convenient to use a Raspberry Pi to connect to the PineTime.
This should work with all models. Please note that older models had a different GPIO layout and you would have to use different pins.

- Guide to set up a Rpi to connect to the PineTime is here
To connect with the Raspberry Pi you can use OpenOCD
CMSIS-DAP compatible device
TBD
Link: github page
ST-Link
A ST-Link is a convenient way to connect to the PineTime. It's a quite common device so that there is a lot of documentation and also cheap clones can be found. One thing to note is that a ST-Link as it is cannot remove the write protection of the original PineTime software, so one of the other devices is needed for that.
To connect with the ST-Link you can use OpenOCD.
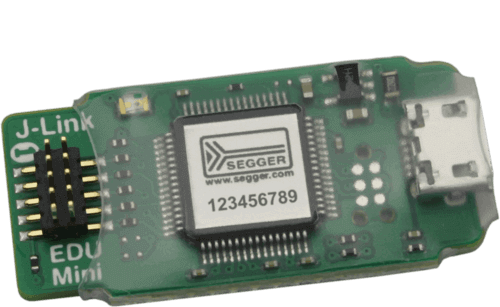
J-Link
There are a number of Segger J-Link devices to connect to the PineTime.
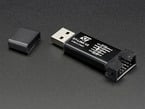
The cheapest is the J-Link EDU Mini. If you use a J-Link you need some sort of breakout board to connect from the J-Link cable to the PineTime connection cable like:


To use a J-Link you can use:
Flashing the first example (WIP)
Some PineTime developer kindly have provided pre-compiled binaries of PineTime firmware, so those can be used to flash a first example without the need to set up a complete development tool chain.
Links:
Blackmagic-bluepill
Check which port is used by BMP: ls /dev/ttyA*
Standard is /dev/ACM0. Interestingly if you unplug the bluepill from USB and plug in again you might get a different number. However you always get two devices and you need to take the lover number.
1. Start gdb
In my case I have to start it with sudo to access /dev/ACM0 sudo gdb
2. Connect to the BMP
target extended-remote /dev/ACM0
3. Search for the PineTimee
monitor swdp_scan
When you scan for the first time only on e device is shown, after the original firmware is erased two devices will be shown
4. Connect
In both cases connect to the first device
attach 1
5. Erase original firmware (once)
Note When connecting for the first time the original firmware needs to be removed.
monitor mass_erase
(This command is not required after the original firmware has been successfully removed.)
6. Define new firmware
Choose a firmware e.g. Pinetime.elf. The format can also be .hex or .bin
file ~/Downloads/PineTime.elf
7. Upload
Upload the firmware
load
8. Run
Start the new firmware
run
9. Disconnect
Disconnect form the PineTime
detach
The new firmware should now be running on the PineTime.
These are a lot of commands. You can add e.g. the commands before file to a file ~/.gdbinit
Raspbery Pi
TBD
CMSIS-DAP
TBD
ST-Link
As the ST-Link cannot remove the write protection on the original PineTime software itself this first has to be removed with one of the other mentioned solutions.
J-Link
TBD